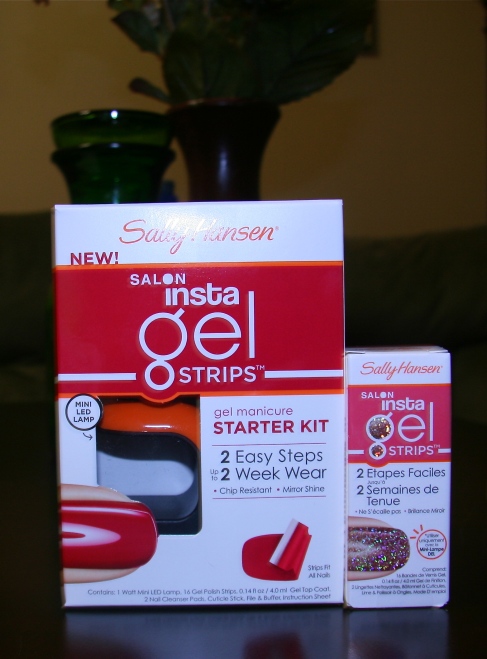
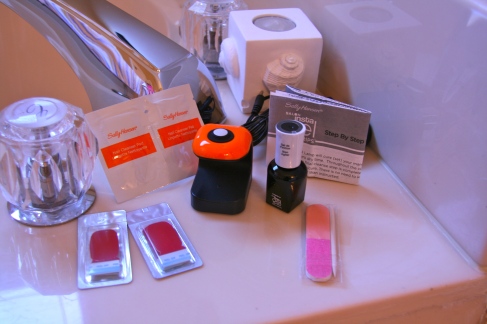
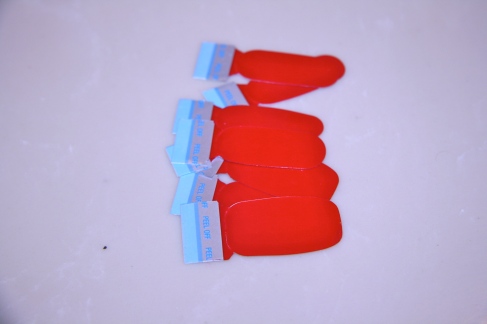
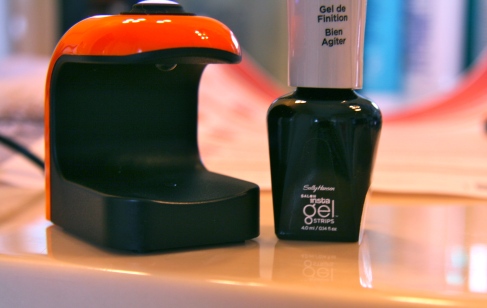
Recently I was lucky enough to be chosen to test this new gel nail system by Sally Hansen. This system is like their other gel nail polish system, but uses polish strips instead of loose gel polish. My box arrived with the starter kit containing the color strips in Red my Lips, a very nice red. The starter kit also includes the mini LED lamp, the gel top coat, nail cleanser pads, cuticle stick, file and buffer. I am aware this product has less than stellar reviews on Sally Hansen’s website, but I am going to give an honest review and not let the other reviews influence me whatsoever. Luckily I applied the polish before reading the reviews, so I feel my opinion and review will be unbiased.
I am going to go through the application process step by step. I would recommend having some music to listen to, possibly a drink, and plenty of space to work. I have a large bathroom vanity and chose to apply the nails there. You also need a plug for the LED light. I went ahead and plugged in the LED light and had it ready to use. It also may be convenient to have a small trash can near. I printed the instruction sheet from Sally Hansen’s website because I hate reading those huge white instruction sheets that are folded into like 100 million folds. Be comfortable before starting, it’ll make the application process less frustrating if you have everything you need.
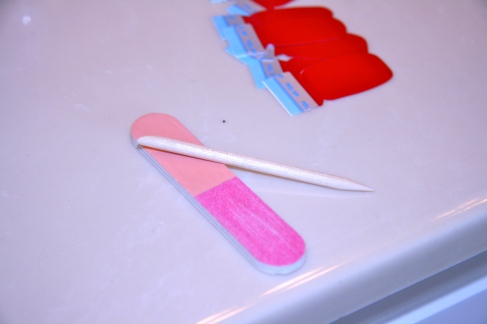
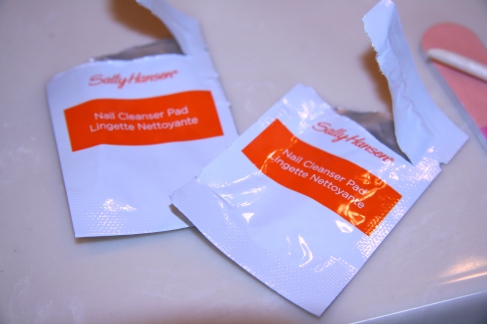
Step 1: Remove any old nail polish, then use the included cuticle pusher to push cuticles back. The wooden cuticle stick hurt me so I used my thumbnail to push back my cuticles. I’ve been doing this forever though and it works great for me! Next use the file to shape nails, and use the white buffer side to buff the nails. It would be a good idea to wash your hands with warm water at this point. You’ll need warm hands when applying the strips. Next, use ONE of the included nail cleanser pads to wipe each nail REALLY WELL. I mistakenly thought I was supposed to use one pad for each hand, but you will need the other cleanser pad for later so don’t use both! You have to do this part fast because I think they are essentially alcohol pads, and alcohol evaporates quickly and the pad dries out really fast. It’s super important to remove any trace of oil off the nail surface or the gel strips won’t stick right and they’ll peel later on.
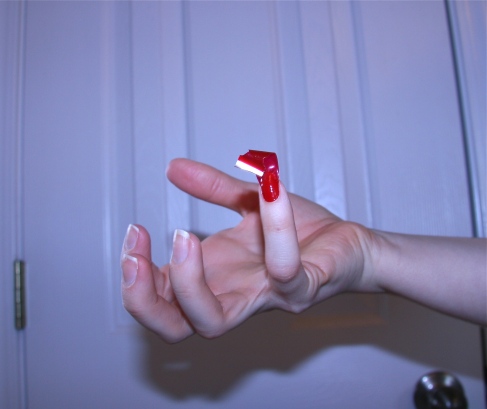
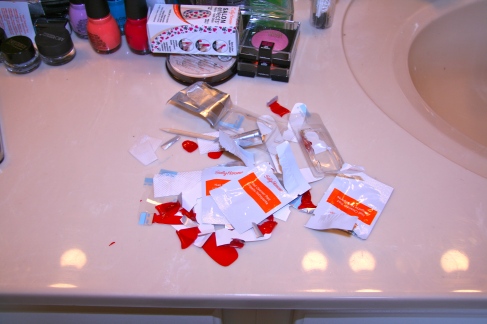
2. It’s time to apply the strips! This was the hardest part for me. The kit comes with 16 strips in different sizes. Start with your pinky and do your thumb last. Finish one hand before moving on to the other. If you have ever applied nail stickers or regular nail polish strips, the application is the same. Find a suitable size for your nail and remove the plastic from the front of the polish strip. Next, remove the white paper from the back and apply the strip onto your nail. It’s best to work with warm hands to make the polish strip pliable. Once it’s in place, stretch and fold the excess over the nail edge and use the smooth side of the file to file it off. Use your finger to repeatedly press and smooth the polish strip onto your nail. It’s important none of the polish is applied over your cuticle or skin. It won’t stick right and will peel off later. This is where you may need the trash can. The plastic and paper backings and excess polish went everywhere. The plastic also wanted to stick to my fingers maybe from static? It was mildly frustrating. Another mildly frustrating aspect of this step was my polish strips wrinkled a bit. I was able to smooth most of it out though, so not a deal breaker, but something to prepare for.
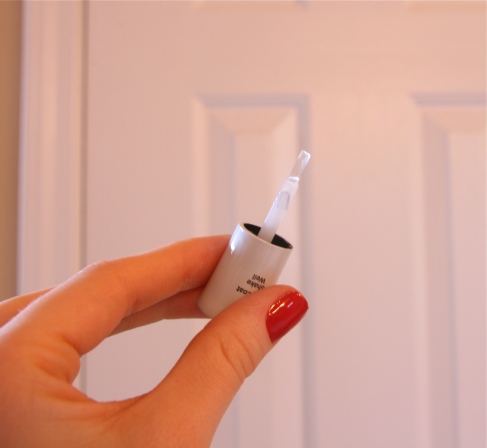
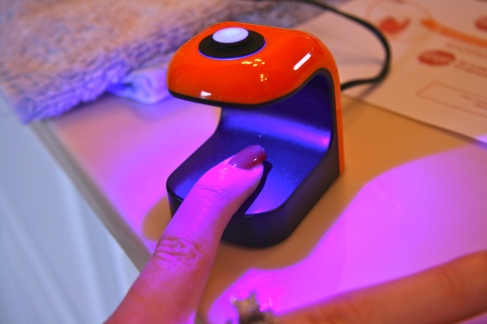
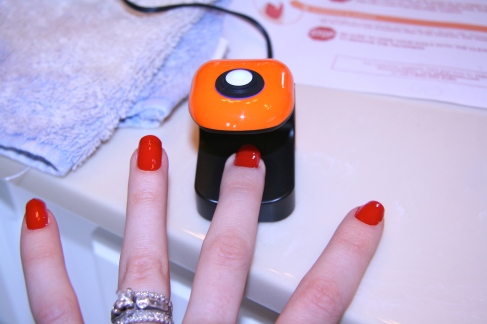
3. This is the easy part, for me anyway. Shake the gel topcoat up really well and apply a very thin coat to your pinky. You can’t apply it very thick or get any on your skin or cuticle. This could be frustrating if you’re not used to applying nail polish, but I apply it so much I’m pretty good at not getting any on my cuticles. Once you apply the topcoat, place your pinky flat on the LED light and turn it on. The button is on top. It turns off automatically after 30 seconds. Then move on to your next finger, saving your thumb for last. Then do the other hand. The topcoat cures in 30 seconds, but still felt kind of tacky. This is normal. After all your fingers are cured, use the other cleanser pad to wipe the tacky residue off each nail. Then you’re done!
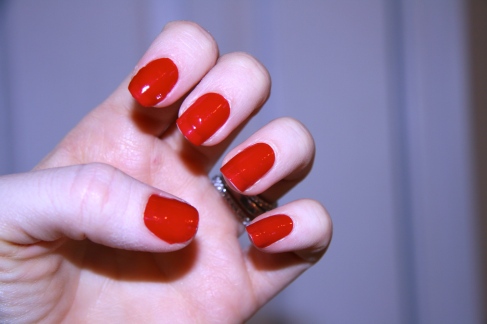
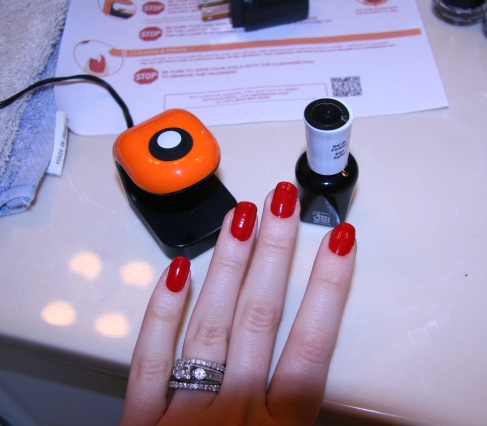
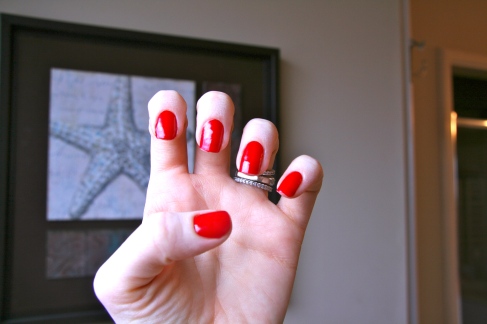
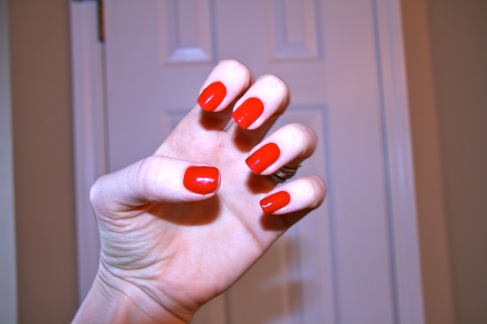
Final Verdict: I feel that if you take your time and follow the directions very carefully this can work. I thought my finished nails looked really nice. There were some frustrating aspects of the application, but to me it was worth it. I’ve had them on 24 hours and so far no peeling.
UPDATE: I removed the strips after one week, and I felt the removal process wasn’t that bad. I simply soaked my nails in an acetone based polish for 10 minutes and the gel came off easily. I do recommend a good moisturizer for afterwards though, since acetone is so drying. I think the foil method would also work for removal.
Have you tried these? Thoughts?

